Agent Chat is where interactions with the Davinci Design Agent happen. The Chat has several unique features that allow for seamless interaction between the user and Agent, allowing maximum flexibility during design.Documentation Index
Fetch the complete documentation index at: https://docs.davinci-app.com/llms.txt
Use this file to discover all available pages before exploring further.
This is an overview of the agent interface for Davinci. To see how to use Davinci effectively, see the Agent Guide
Chat Input
The Davinci Agent chat input area has several key functions to allow users to instruct the Agent. Primarily, users can provide text to Davinci, describing actions they wish to take on the model. It is good to be specific when providing both context and instruction, referencing existing model objects when possible.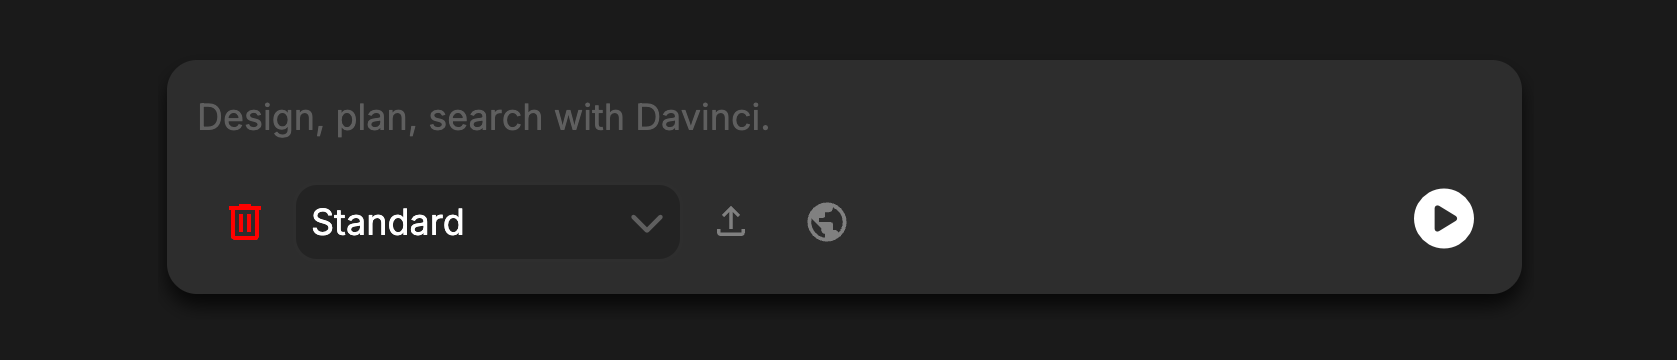
Text
Text is the simplest form of input that the Agent can accept. Simply type into the Chat box any instructions and the design agent will build a plan and execute that as a series of tasks.Images
The Chat Input can accept images (png/jpg/webp formats) that are pasted into the chat. These images will be passed to the Agent for extra visual context. Preview pasted images by hovering your mouse over the image cards. To remove an image once it is pasted, hover over the image card, then click the “x” to clear it. Up to 10 pasted images can be included for any message.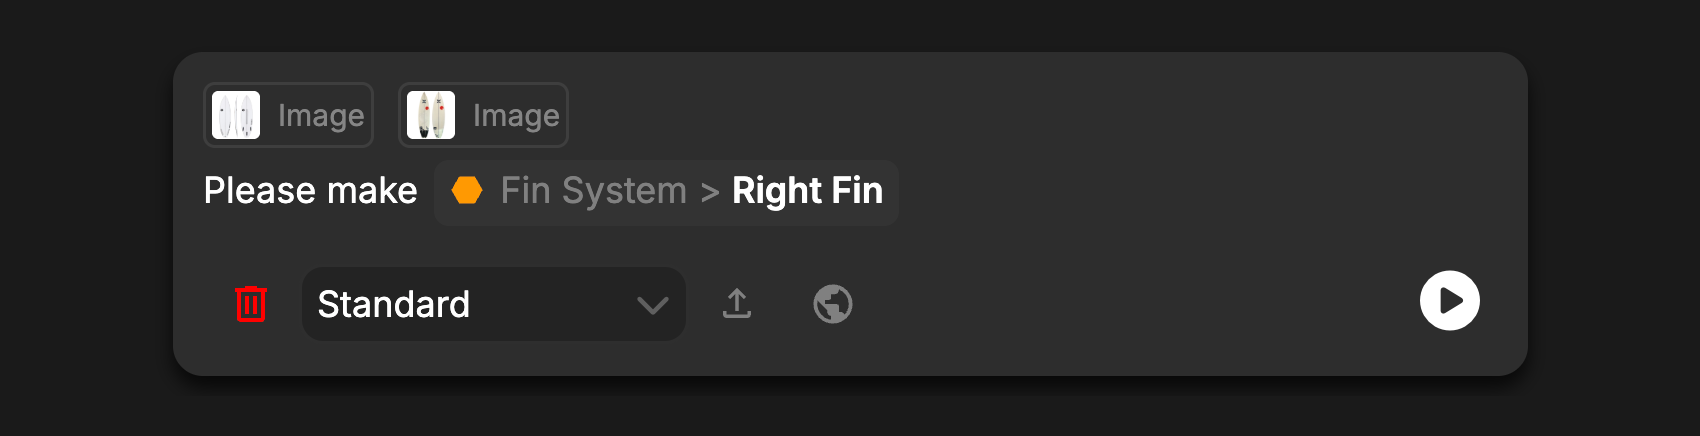
Model Objects
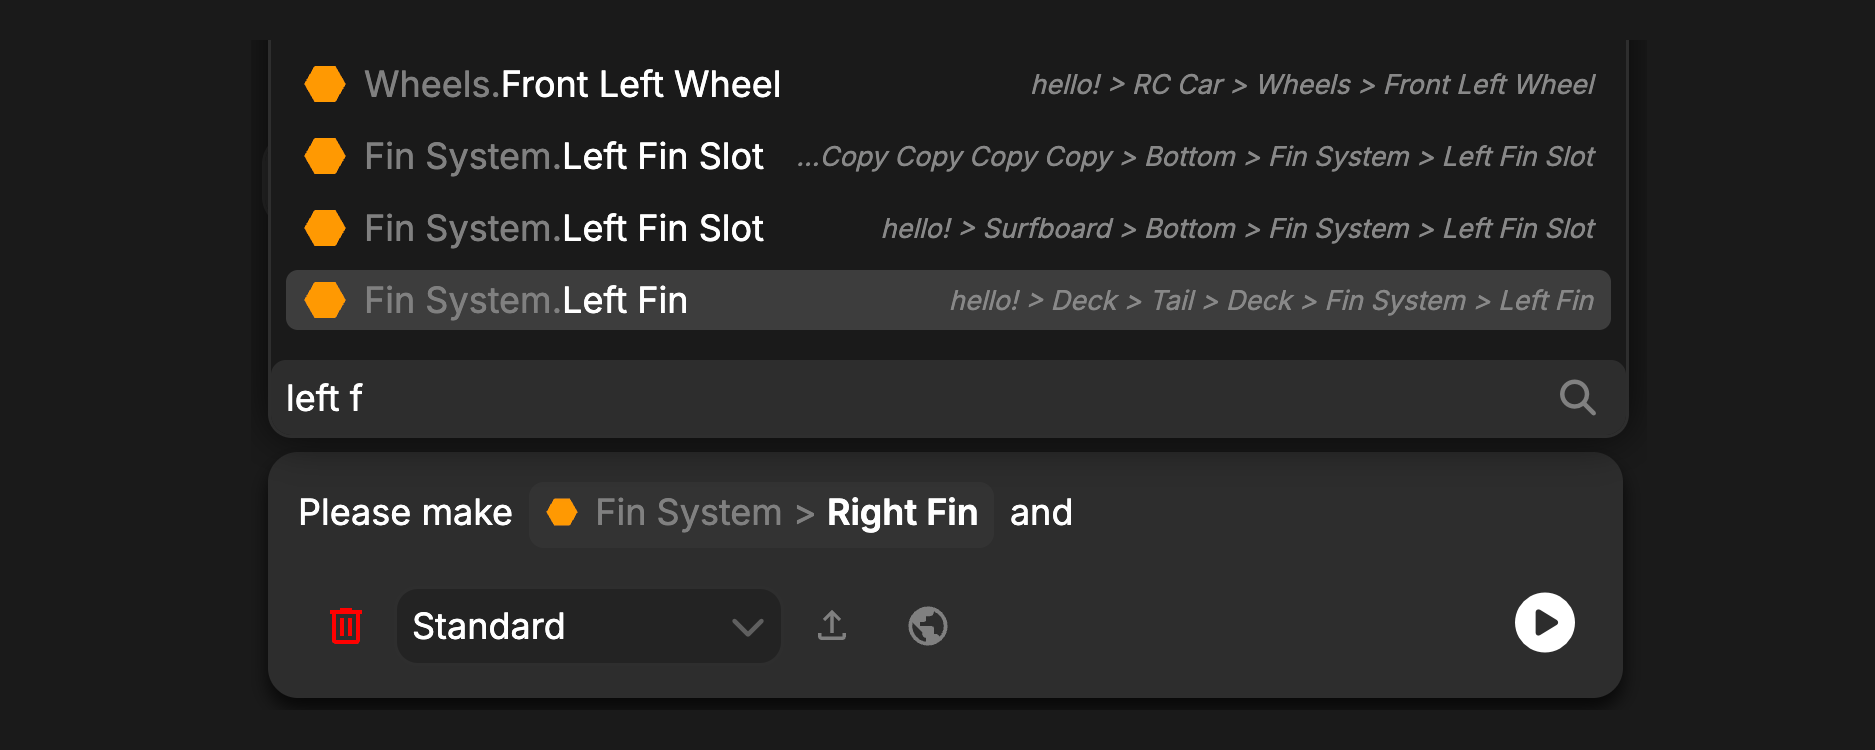
The Chat Input can accept references to model objects using@. Simply type @ and begin typing the name of the object you would like to use.
Objects can be searched for directly, or via their parent using a . parent.object if you have many objects with similar names. Press tab to autocomplete the current name, and enter to accept.
This will add the Model Object as context for the Agent, so it knows exactly what Objects are important.
Chat Input Settings
- To clear the Chat history use the chat delete button (red trash icon). This will clear the entire history of the current chat, allowing you to start fresh with no prior context. Clearing Chat History cannot be undone
- Agent Personas can be selected using the Persona drop down menu. The currently active Persona is displayed when the menu is closed. Personas are a persistent set of instructions passed to the Agent on each message, automating repetitive instruction sets.
- Files can be uploaded directly to the model here. Click the Upload Button to add a reference object to the model.
- Enable or disable Web Search for the Agent by clicking on the globe icon. Web search can be useful for finding additional information, or pulling public documents into your model as Reference objects.
- The Play/Pause button can be used to begin or stop the execution of an Agent. If the Agent is not already running, pressing Play will begin running that Agent. While running, pressing Pause will interrupt the execution of the Agent, allowing you to provide more context, better instructions, or simply stop the Agent if it has gotten off track.
Chat History
The Chat History allows you to see your previous messages to the Agent, as well as current and past Agent responses and actions. Easily review all actions taken by the Agent by examining the various tools the Agent used. When messaging the Agent, some or all of the current Chat History may be passed as additional context to the Agent. Consider clearing the Chat History if the Agent seems incorrectly focused or stuck.
Model Object references in Chat can be clicked to open them in the Workspace
Restore Checkpoint
Davinci makes a Checkpoint every time a user message is sent. This allows users to easily back track if the Agent makes a mistake. To restore the model to its state at the time of the checkpoint, click theRestore Checkpoint button inside of that message. This will revert any changes made by the agent after that message was sent. It will also restore that message and any pasted images back into the Chat Area to be easily sent again.

Tool Use and Undo
The primary way the Davinci Agent interacts with your model is through the use of Tools. Tools allow the Agent a structured way of interacting with data, maintaining model integrity and data stability. For all tools, users can see what the Agent has requested of the tool by clickingInput.
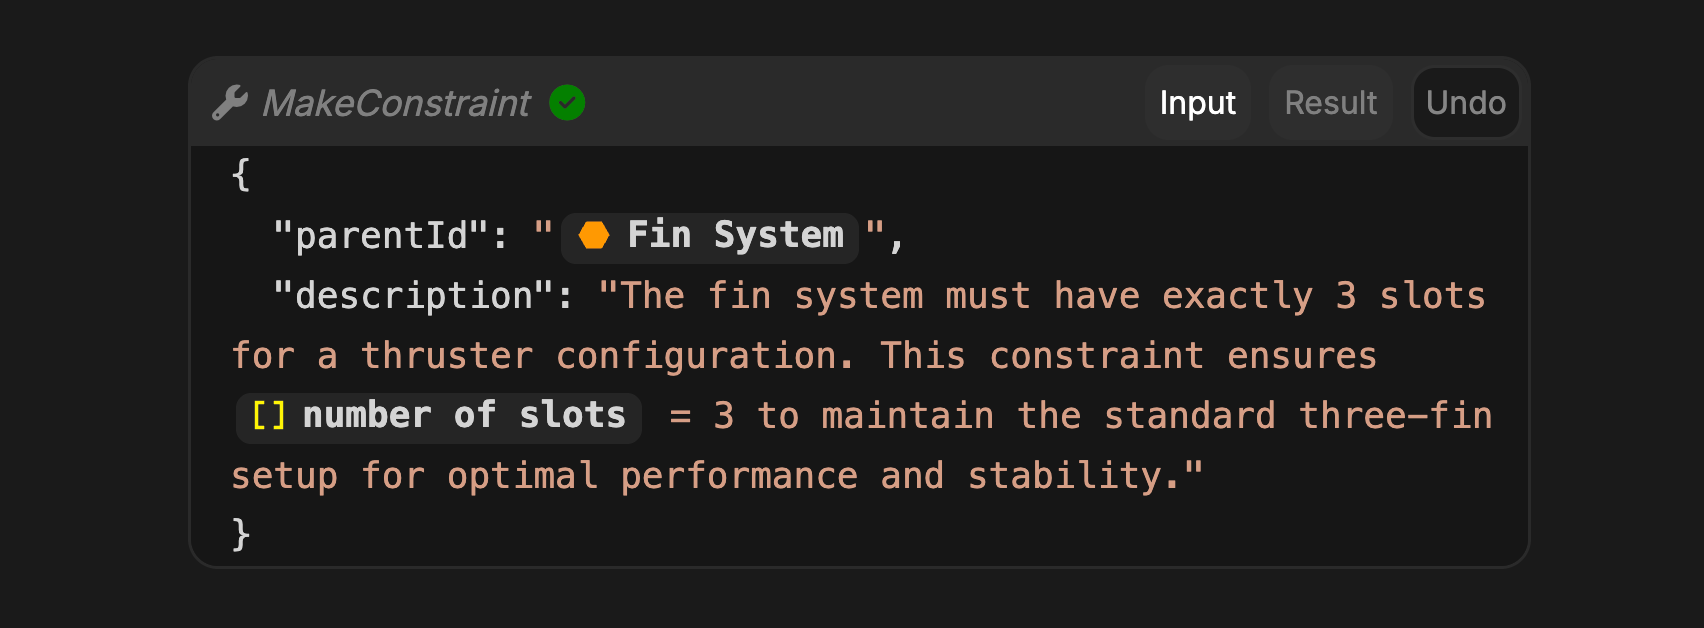
Result when applicable. Some components can be hidden or shown in this view by clicking the eye icons next to each type. This can be useful for sorting through larger batches of changes.
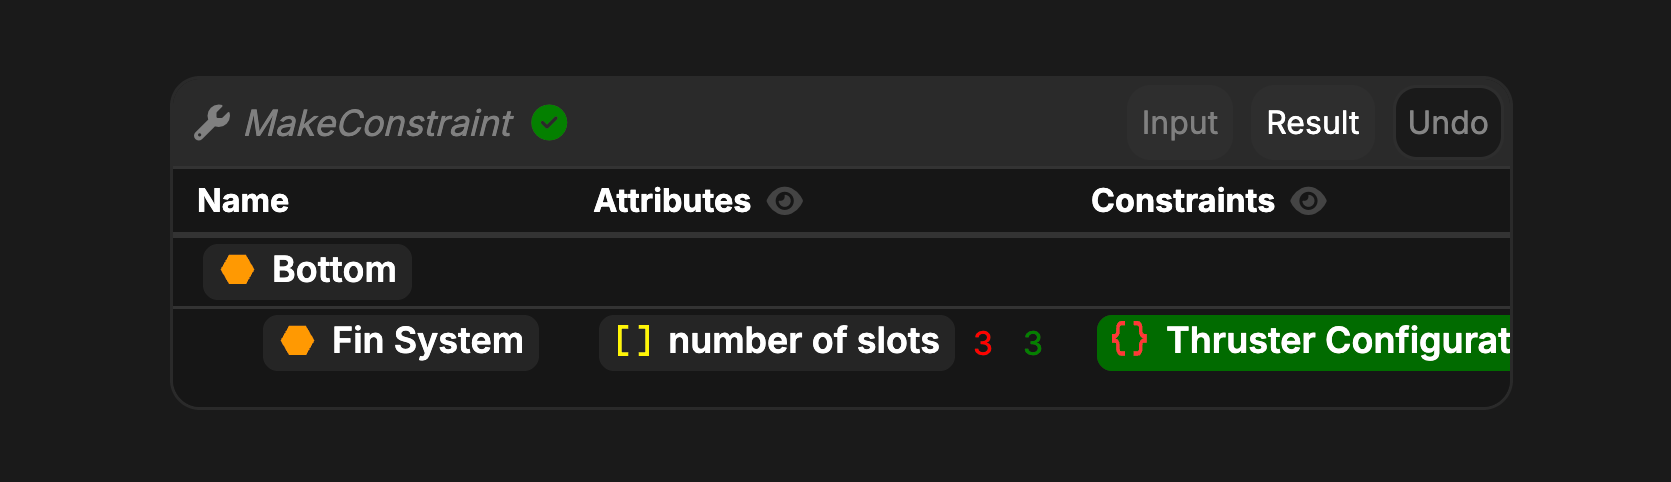
Undo button to revert those changes specifically. Other Tool calls will not be affected. Consider using the Restore Checkpoint button and modifying your prompt if larger issues occur.