Tags provide a flexible way to categorize and group objects across your project, regardless of their location in the model hierarchy. They can be used to mark objects by ownership, status, priority, requirements compliance, or any other classification relevant to your workflow.Documentation Index
Fetch the complete documentation index at: https://docs.davinci-app.com/llms.txt
Use this file to discover all available pages before exploring further.
Using Tags
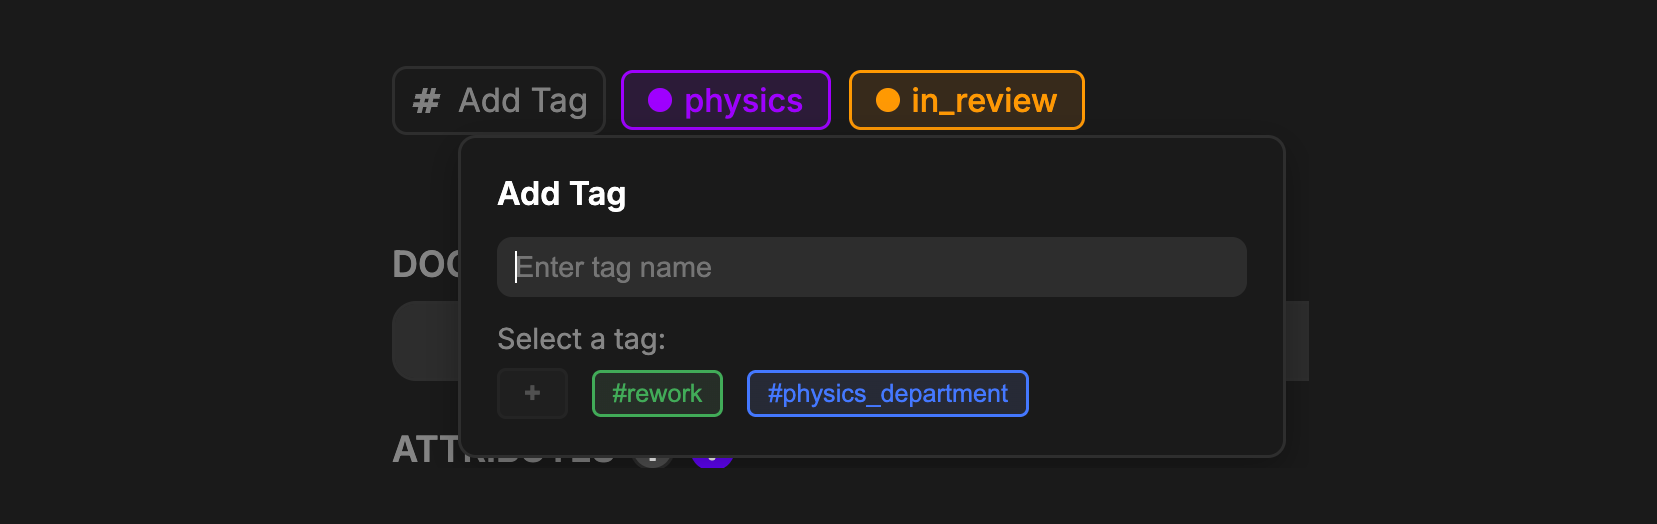
Adding Tags to Objects
Tags can be applied directly from the Properties View of any object.- Click the # button located under the object name header
- Type the name of the tag you want to apply
- Select an existing tag from the list, or select
+ [Name]to create a new tag on the fly
Removing Tags from Objects
To remove a tag from an object:- Hover over the tag in the Properties View
- Click the X icon that appears on the tag
Managing Tags
Project-wide tag management is handled in Project Settings. Here you can view all tags, manage their assignments, and configure their properties.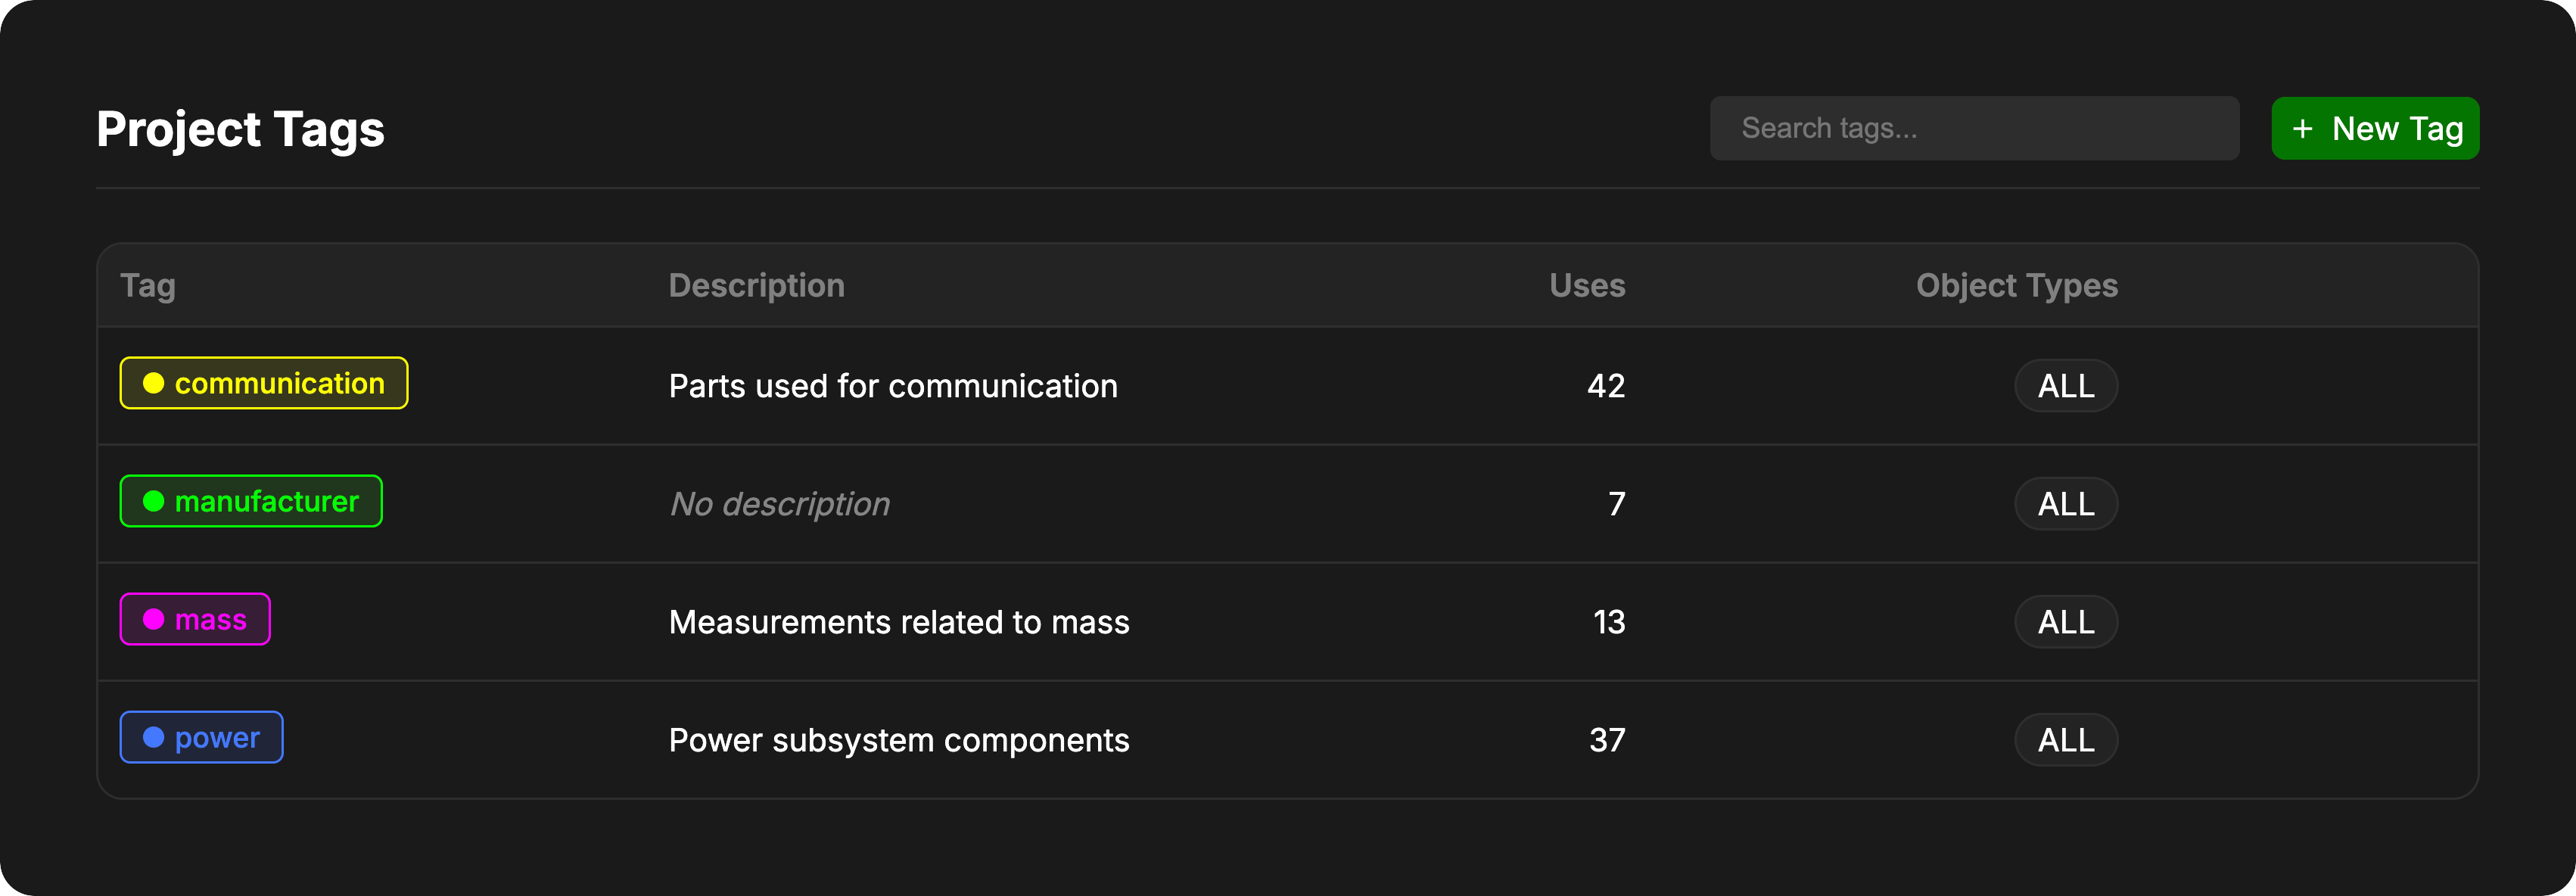
Creating and Searching
- Search: Use the search bar at the top of the tag list to find specific tags in large projects
- Create: Click the Create Tag button to define a new tag directly from the settings menu
Viewing Tag Usage
Click on any tag in the list to see a detailed view of all objects currently using that tag. From this view you can:- Add Objects: Click the Add Objects button to apply this tag to more objects
- Remove Objects: Click the trash can icon next to an object in the list to remove the tag from that specific object
Editing Tags
Click the pen icon next to a tag to open the edit interface.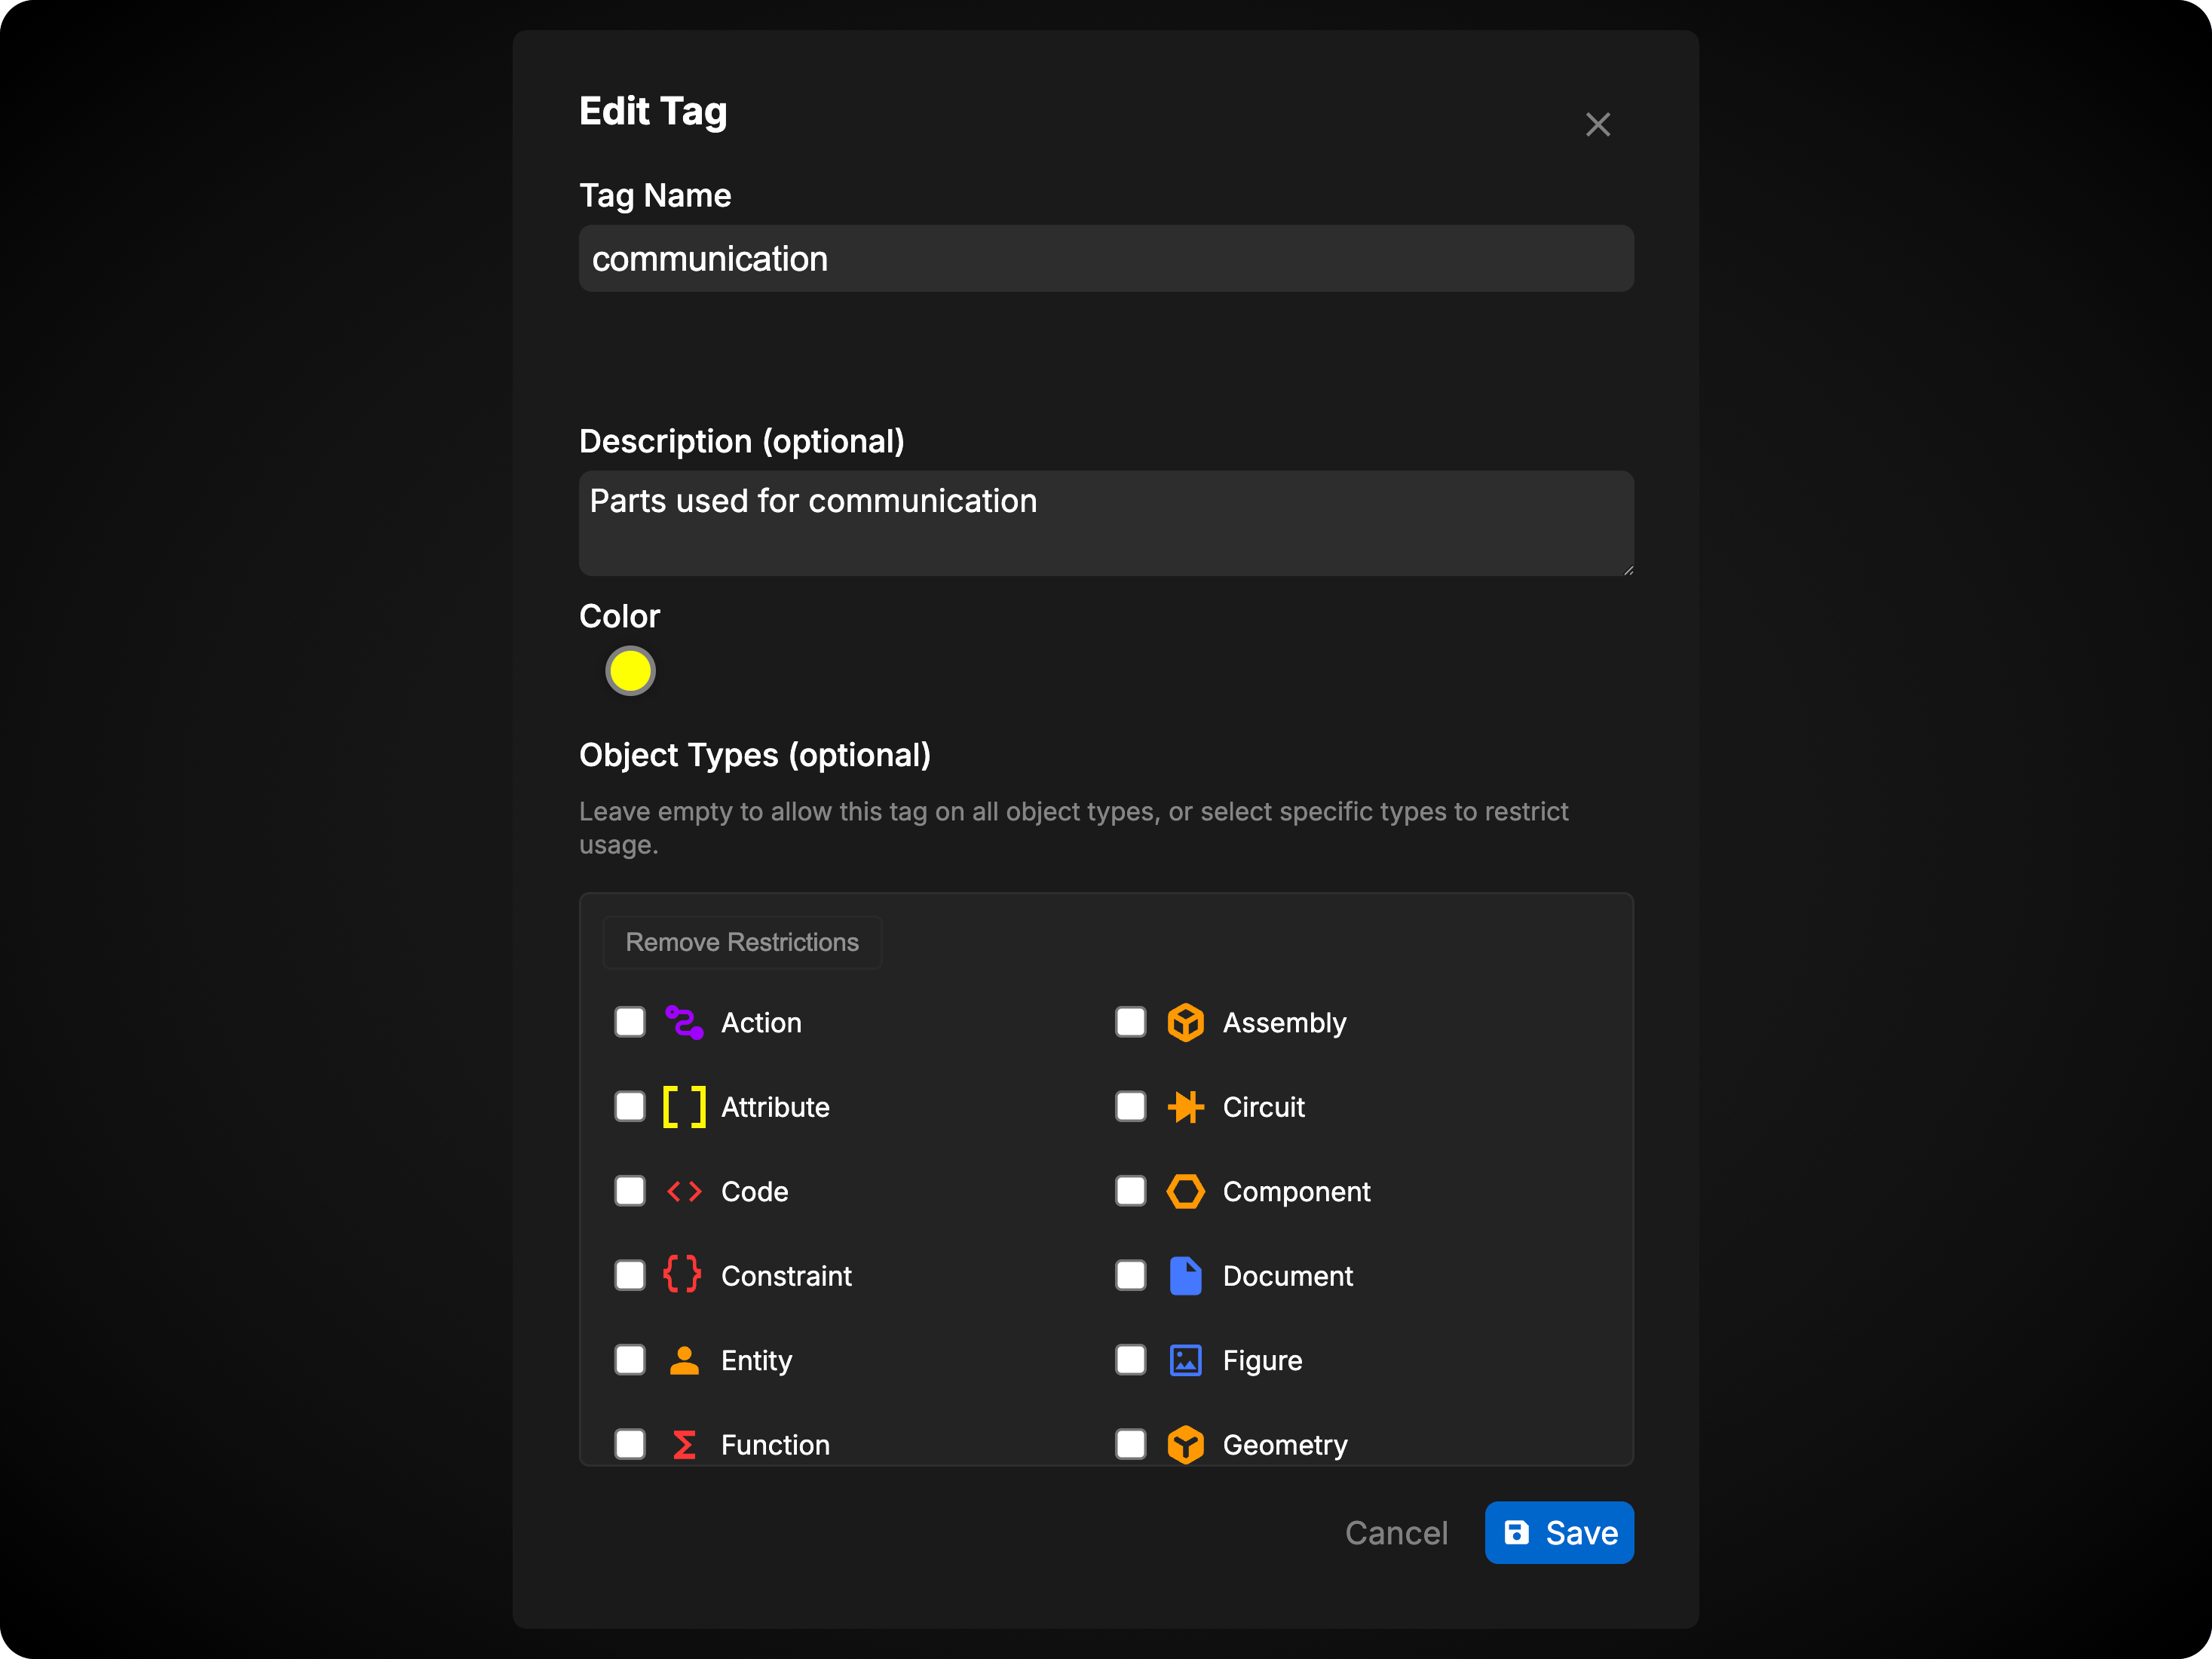
- Name: Rename the tag (updates across all marked objects)
- Description: Add context about what the tag is used for
- Color: Change the visual color of the tag for easier identification
- Object Type Restrictions:
- By default, tags can be applied to any object type
- Select specific object types from the list to restrict usage
- Click Remove Restrictions to allow the tag on all object types again
Remember to click Save to apply your changes.