The Files view provides centralized management of all files uploaded to your project. Files serve as reference materials and source data that can be imported into your model, referenced by the AI agent, or used as documentation. Examples include requirements tables, system descriptions, technical specifications, CAD drawings, and other project documentation.Documentation Index
Fetch the complete documentation index at: https://docs.davinci-app.com/llms.txt
Use this file to discover all available pages before exploring further.
Uploading Files
Files can be uploaded in multiple ways:- Using the Upload File button in the
LibraryIndex Panel - Using the Upload File button in
Project Settings>Files - Drag and drop files directly into Davinci
- Paste files directly into chat. Images will be retained within chat while other supported file types will be uploaded as Reference Objects
When uploading files to Davinci, they are created as both index objects in the model and uploaded to the project storage. Files that are removed from the model are retained in project storage to maintain Snapshot integrity.
Using Uploaded Files
Uploaded files can be referenced directly in chat by referencing them using the ”@” menu. Davinci will attempt to utilize information in the file when performing the task.File Status
Files can have one of two different statuses:| Status | Description |
|---|---|
Active | Active files are currently in the project Library. These files are actively being used by the model and may be connected to model objects, documentation, or other parts of the model. Active files appear in green. |
Inactive | Inactive files are not currently used in the model. They have been deleted from the Library but are retained in storage. Inactive files appear in orange. |
Managing Files
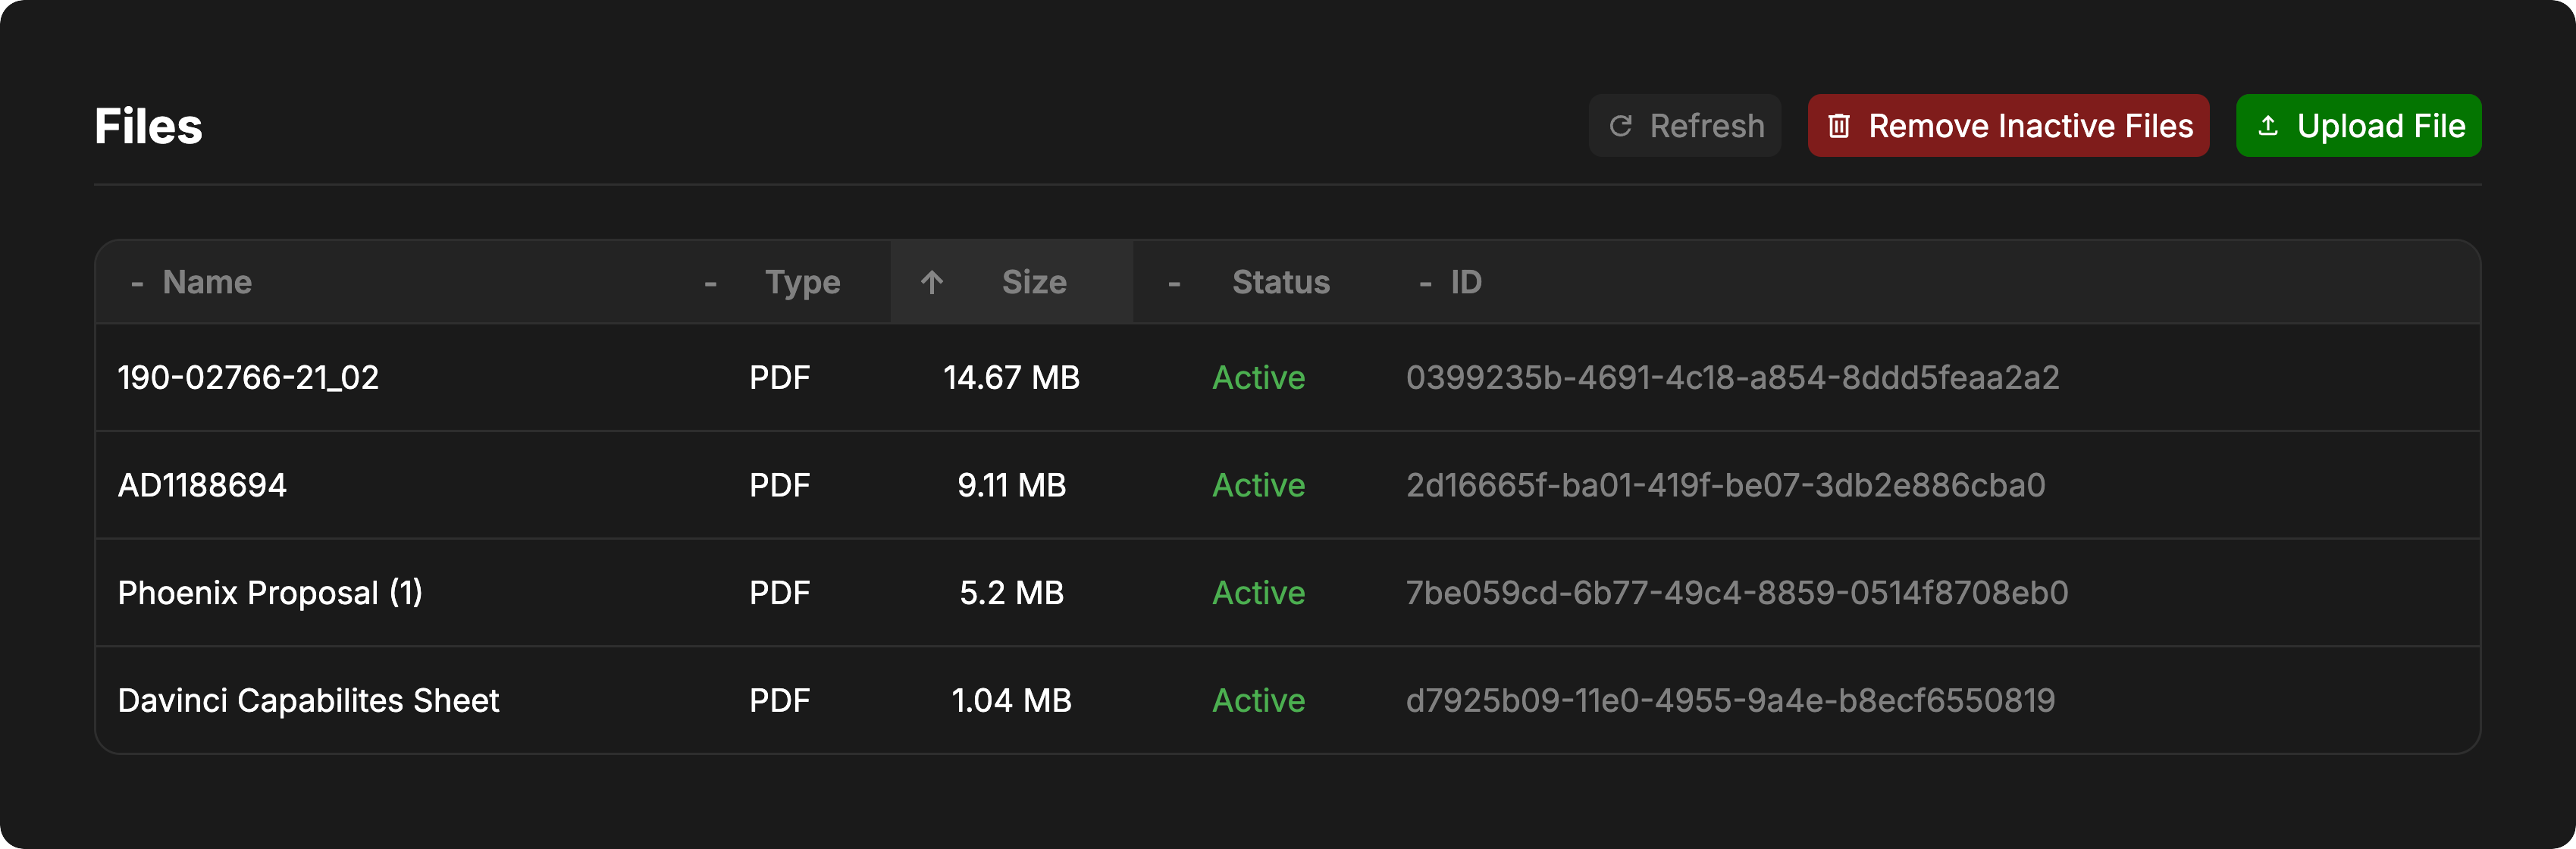
The Files view displays all project files in a sortable table with the following columns:- Name: The filename
- Type: File type/extension (PDF, DOCX, PNG, etc.)
- Size: File size in bytes, KB, MB, or GB
- Status: Active or Inactive
- ID: The file’s UUID for debugging purposes
Sorting Files
Click on any column header to sort by that column. Click again to reverse the sort direction. The table supports sorting by name, type, size, status, and ID.Refreshing the File List
Click the Refresh button to reload the file list and update file information.Deleting Files
To delete a single file:- Hover over the file row to reveal the delete icon
- Click the trash icon
- Confirm the deletion
Only the project owner can delete files.
Removing All Inactive Files
To permanently delete all inactive files at once:- Click the Remove Inactive Files button
- Review the list of files to be deleted
- Confirm the deletion